skip to main |
skip to sidebar
Summer is officially upon us and always looking for sweet and delicious treats to enjoy during the summer, I came upon this recipe I saw many years ago and have yet to try, until now! The name "bonbon" is French, meaning "good-good" and refers to any of several types of sweets, especially small candies enrobed in chocolate.
The first reports of bonbons come from the 17th century, when they were made at the French royal court. This particular version, is made using coconut sorbet, shredded coconut and almonds, and are perfect little treats to enjoy outside on a hot summer day!
Very simple to make, all you need are a few ingredients and these can be ready in about an hour! Get the complete recipe here: Coconut Bonbons
 You'll need some Nabisco Famous Chocolate Wafer Cookies, coconut sorbet, shredded unsweetened coconut, whole almonds, some semi-sweet or bittersweet chocolate and little vegetable shortening.
 On a wire rack, placed onto a sheet pan, place the wafers, top side down, spaced evenly. Add some shredded coconut in the center of each wafer, top with a small scoop of sorbet, and an almond on each. Put the pan in the freezer for at least 20 minutes.
 In a heat-proof bowl, set over a pan of barely simmering water, melt the chocolate and shortening until nice and smooth. Remove from heat and cool slightly.
Remove the baking pan from freezer and ladle a good amount of the melted chocolate over the bonbons, completely covering the entire bonbon. Remember to work fast as the warm chocolate will start to melt the sorbet slightly. Return the baking pan to the freezer for at least 30 minutes or overnight, if not serving right away. Enjoy!!
Always curious to try new recipes, a friend of mine shared this recipe for an interesting casserole and of course, I wanted to give it a test! Now this is generally not something I would make, given its high fat and caloric content, and use of pre-made and canned ingredients. It still peaked my interest to try it, at least once.
Although tater-tot casserole recipes are available by the dozen, online, and in community cookbooks all across America, this particular recipe utilizes Campbell's Golden Mushroom soup, which is new to me!
There are only 5 ingredients and this can be whipped in a pinch when those unexpected guests drop by!
1 lb ground beef (80/20), 1 large onion (sliced), 1 (2 lb) bag tater-tots, 2 cans of Campbell's Golden Mushroom soup and 1 lb shredded cheddar cheese. Crumble the ground beef in a 13 x 9 baking dish, season with coarse salt & pepper
 Add the sliced onion in an even single layer on top of the ground beef.
 Add the entire bag of tater-tots, evenly across the top of the onions.
 Now, pour both cans of soup on top of the tots, and spread evenly to the edges.
 Sprinkle the shredded cheese evenly over the top.
 Bake in a preheated 350 degree oven for about 45 minutes to an hour, until the cheese is melted, slightly browned and its bubbling nicely!!
 Serve this up, garnished with a little fresh cilantro, and enjoy!
 Guaranteed to be a hit at your next pot-luck or week-night meal!
Osso Buco is an Italian specialty of veal shanks braised, usually in a white wine, and traditionally garnished with gremolata and served with a Risotto Milanese.There are 2 types of Osso Buco. A modern version served with tomatoes, carrots, celery and onions and the original version which does not include the vegetables other than onion. The recipe I'm sharing here is the original version.
The name Ossobuco or Osso Buco is Italian for "bone with a hole" (osso bone, buco hole), a reference to the marrow hole at the center of the cross-cut veal shank.
This recipe comes from the book "Lucinda's Rustic Italian Kitchen" by Lucinda Scala Quinn, and was featured on her television show "Mad Hungry".
Recently celebrating my 41st birthday, I wanted to make this as a special birthday dinner for myself.
First step I did was to make the gremolata which is a simple garnish to sprinkle on top of the finished dish.
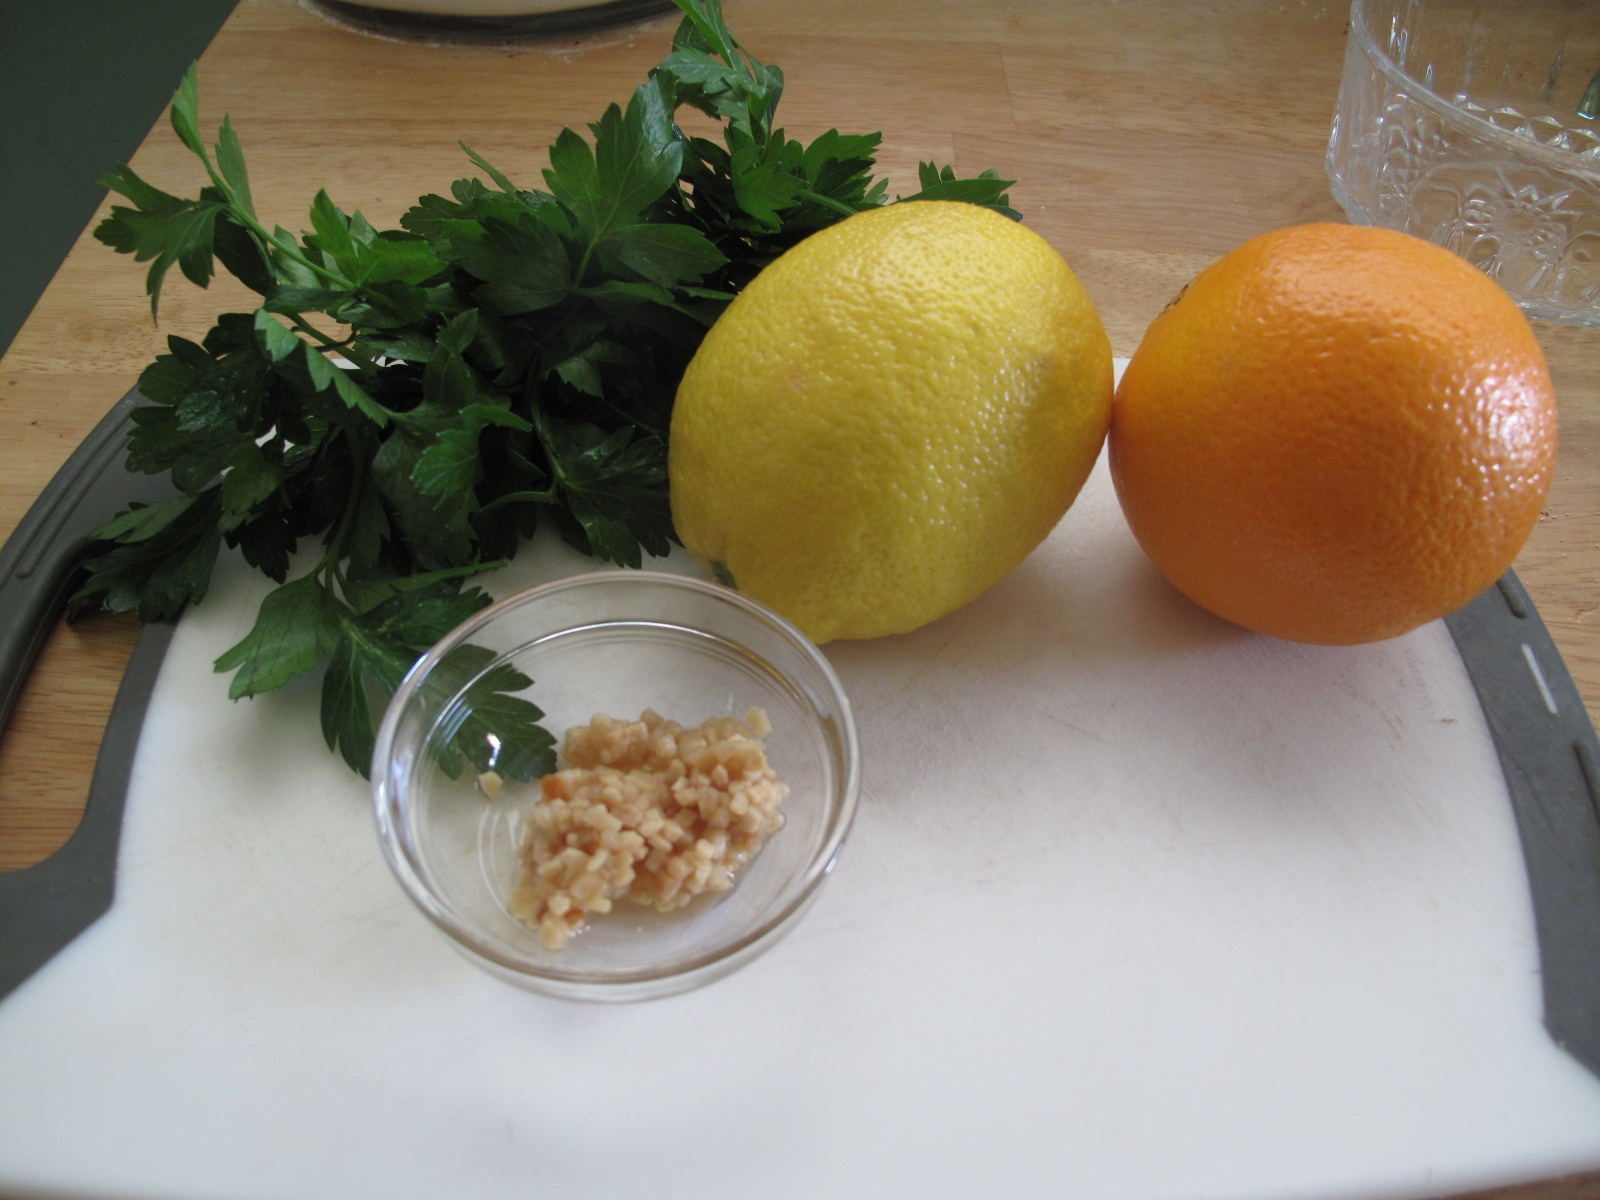
For this, you combine 3 tablespoons of finely minced Italian Flat-leaf parsley, 1-1/2 tablespoons each of minced lemon and orange zest, (If you have a Microplane zester, this step is easily done just by "zesting" the fruit), and 3 cloves of garlic, minced. Combine this all in a small bowl and set aside.

The dish's primary ingredient, veal shank, is a common, relatively cheap and flavorful cut. Although tough, braising makes it tender. The cut traditionally used for this dish comes from the top of the thigh which has a higher proportion of meat to bone.
Now, when I decided to make this dish, I never realized how hard, almost impossible, it is to find veal shanks in my area. I live in one of the largest cities in Michigan, just outside of Detroit, and I looked for veal shanks in several butcher shops and high-end markets, I even checked out many of the large meat purveyors in Detroit's Eastern Market, including a few slaughter houses (I was sided by side with skinned cows hanging from meat hooks in giant walk-in coolers), and could not find veal shanks to save my life! I was to the point where I was about to give up on making this dish, but I didn't. It took me a couple more days, but finally located veal shanks at a large produce market, less than 10 minutes from my house, go figure.
You'll need 6 shanks for this recipe. First lay them out and season them on both sides with coarse salt and freshly ground black pepper.
 Next, lightly coat them, in a fine all-purpose flour such as "Wondra" flour, shake off the excess.
 Heat a large heavy-bottom pan over high heat. Add 2 tablespoons of extra-virgin olive oil and 2 tablespoons unsalted butter to the pan and swirl them around. Add the shanks and cook for about 3 minutes per side.
 Cook the shanks until they are nicely browned on both sides.
 Add 2-1/2 cups of a good quality Italian white wine, such as Pinot Grigio and stir it occasionally to de-glaze and loosen the browned bits on the bottom of the pan. Reduce heat to medium-low, partially cover, and simmer for 30 minutes. Turn the meat and cook until tender, about 30-45 minutes more.
 While the meat is cooking, make the Risotto Milanese. One of the unique ingredients in this risotto is saffron, which gives this an enticing fragrance. You only need 2 teaspoons of saffron threads for this recipe and remember, this is the worlds most expensive spice, so a little does go a long way!
 Add the saffron to 5 cups of hot chicken stock, stirring to infuse. Set aside.
 In a medium saucepan over medium-low heat, add 2 tablespoons of olive oil, heat until hot and add 1 small onion, finely diced, cook until soft and translucent, 8 to 10 minutes.
 Next add 2 cups of Arborio rice and cook, stirring, until toasted and opaque, 3 to 4 minutes.
 Add 1/3 cup dry white wine and cook, stirring until almost evaporated. Add 1 cup of the stock and cook, stirring, until almost all the liquid is absorbed. Continue cooking, adding 1 cup stock at a time and stirring until each addition as been absorbed before adding more stock. Continue process until rice is tender and creamy but still slightly al dente, about 17-20 minutes. You may not use all of the stock.
 Stir in 3 tablespoons of unsalted butter and 1/2 cup of freshly grated Parmigiano-Reggiano cheese until well combined.
 By now, the veal should be done, serve immediately with a little of the pan sauce and sprinkled with a bit of the gremolata, along with the risotto, sprinkled with a little more Parmigiano-Reggiano cheese. A wonderful Italian Sunday dinner!

Who doesn't love a cupcake? I know I do, and I'm sure you do too. When you're in the mood for a decadent taste of cake, cupcakes are easy and small enough to satisfy that sinful craving without having to bake up an entire cake - not like that's a bad thing either! Even my chocolate allergy couldn't keep me from enjoying one of these devilishly delicious creatures!
These unique cupcakes were featured on the new "how-to" show by Martha Stewart called "Martha Bakes" (Mondays, 11:00 AM est, on Hallmark Channel).
These rich devil's food cupcakes are topped with a creamy snow-white frosting, then dipped in a delicious semi-sweet chocolate coating. You can find the recipe here, "Hi-Hat Cupcakes". This makes 3 dozen cupcakes and you'll need to make that many because they're going to disappear very quickly!! The recipe can also be found in Martha Stewart's Cupcakes Book
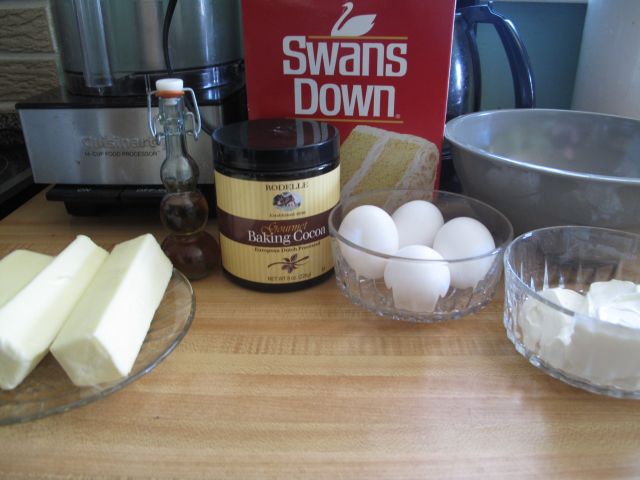
First, you'll make the cake batter. Remember to gather all your ingredients and pre-measure them out. It makes the recipe move along more smoothly! Also, you'll want to use the very best chocolate/cocoa you can find. Don't skimp on this because you'll definitely notice the difference. Go for Valrhona or Ghirardelli, which can be found in most supermarkets and gourmet food shops. Even Meijer now offers a really good dutch-processed baking cocoa, called Rodelle Baking Cocoa.
 The cake recipe is quite simple and unique to most cake recipes as it doesn't include milk or buttermilk, like most cake recipes call for. Instead it uses sour cream. Start out by whisking together the cocoa with hot water until it's smooth, then whisk in the sour cream, and let cool. In a separate medium bowl, sift together flour, baking soda, and salt; set aside.
 In the bowl of an electric mixer fitted with the paddle attachment, cream the butter and sugar on medium speed until light a fluffy. Add eggs, one at a time, scraping down the bowl as needed. Beat in vanilla.
 With the mixer on low speed, add flour mixture, alternating with the cocoa mixture. Beat until combined.
 Fill lined cupcake pans, about half full and bake until a tester comes out clean. Let cool completely. Now the key here is to have the cupcakes bake to just come up to the top of the cupcake liner, not bake over. Of course, as usual, I was a tad bit generous with the batter, but that's ok!
 Now on to making that creamy frosting! This is very simple and you only need a few ingredients, egg whites (at room temperature), sugar, water, cream of tartar and vanilla.
 In the bowl of your electric mixer, whisk together sugar, egg whites, water, and cream of tartar until foamy.
 Set the bowl on top of a pan of barely simmering water and whisk until the sugar is dissolved and the mixture is warm to the touch.
 Move the bowl to your mixer fitted with the whisk attachment, and beat on high speed until frosting forms stiff peaks. Add vanilla and beat until combined.
 Transfer the frosting to two large pastry bags fitted with either a large (1/2-inch) plain or open star tip. Leaving a 1/8-inch border on each cupcake, pipe a spiral of frosting into a 2-inch-high cone shape. You want to work fast on this part because if it is warm in the kitchen, the frosting will soften quickly and start to "fall" as you can see on a couple of the cupcakes in the bottom left of the photo. Transfer the cupcakes to a baking sheet, and refrigerate while preparing the chocolate coating.
 To make the chocolate coating, simple take 24 ounces of chopped semi-sweet chocolate (again, the very best you can get), and 6 tablespoons of safflower oil, placed in a medium sized heat-proof bowl. This chocolate coating is also excellent for dipping strawberries, pretzels, ice cream cones, or anything else you feel like coating in chocolate!!
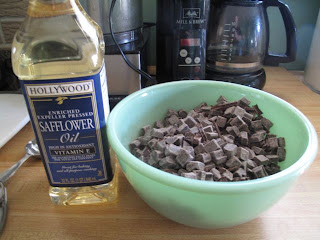 Set the bowl over a pan of barely simmering water, and stir until melted and smooth.
 Transfer the melted chocolate to a small, deep, bowl or container. Let cool for about 15 minutes. Now, again, working quickly, hold each cupcake by its bottom, dip in the chocolate to coat all of the white frosting, allowing excess to drip off. Transfer to a baking sheet. Now the actual recipe states to let the cupcakes stand at room temperature for 15 minutes before refrigerating them, but because of the white frosting softening rather quickly, I skipped this step.
 Place the cupcakes on a serving platter, and refrigerate for 30 minutes to let the coating set. Cover and refrigerate for 2 hours more and serve cold! Cupcakes can be refrigerated up to 3 days, but I doubt they'll last that long!!

What better time of the year to enjoy delicious hot soup than the dead of winter time!
This recipe for Roasted Beef, Mushroom, and Barley soup is so delicious, and perfect for cold weather enjoyment. It's also good for you too!
Very simple to put together and ready in under an hour, make a steaming pot of this soup tonight! Start out by roasting the mushrooms and the meat. Roasting concentrates the flavors of the beef and mushrooms, which gives this hearty barley soup a deep, rich character.
Ingredients:
1 lb sirloin steak, cut into 1/2" strips or pieces
1 lb cremini or button mushrooms, stems trimmed and caps halved or quartered
2 shallots, peeled and coarsely chopped
2 Tbls. extra-virgin olive oil
Coarse salt and freshly ground black pepper
4 cups of low-sodium chicken broth or water
1/2 cup quick-cooking barley
Preheat oven to 425 degrees. In a roasting pan or rimmed baking sheet, toss together the steak, mushrooms, shallots, and olive oil; season with salt and pepper. Arrange in a single layer and roast until beef and mushrooms are browned, about 30 minutes.
 Transfer to a medium pot and add broth and barley. Bring to a boil over medium-high heat, then reduce heat and simmer until barley is soft, about 12 minutes.
 Season with salt and pepper and enjoy with a nice piece of freshly baked bread!

 On a wire rack, placed onto a sheet pan, place the wafers, top side down, spaced evenly. Add some shredded coconut in the center of each wafer, top with a small scoop of sorbet, and an almond on each. Put the pan in the freezer for at least 20 minutes.
 In a heat-proof bowl, set over a pan of barely simmering water, melt the chocolate and shortening until nice and smooth. Remove from heat and cool slightly.